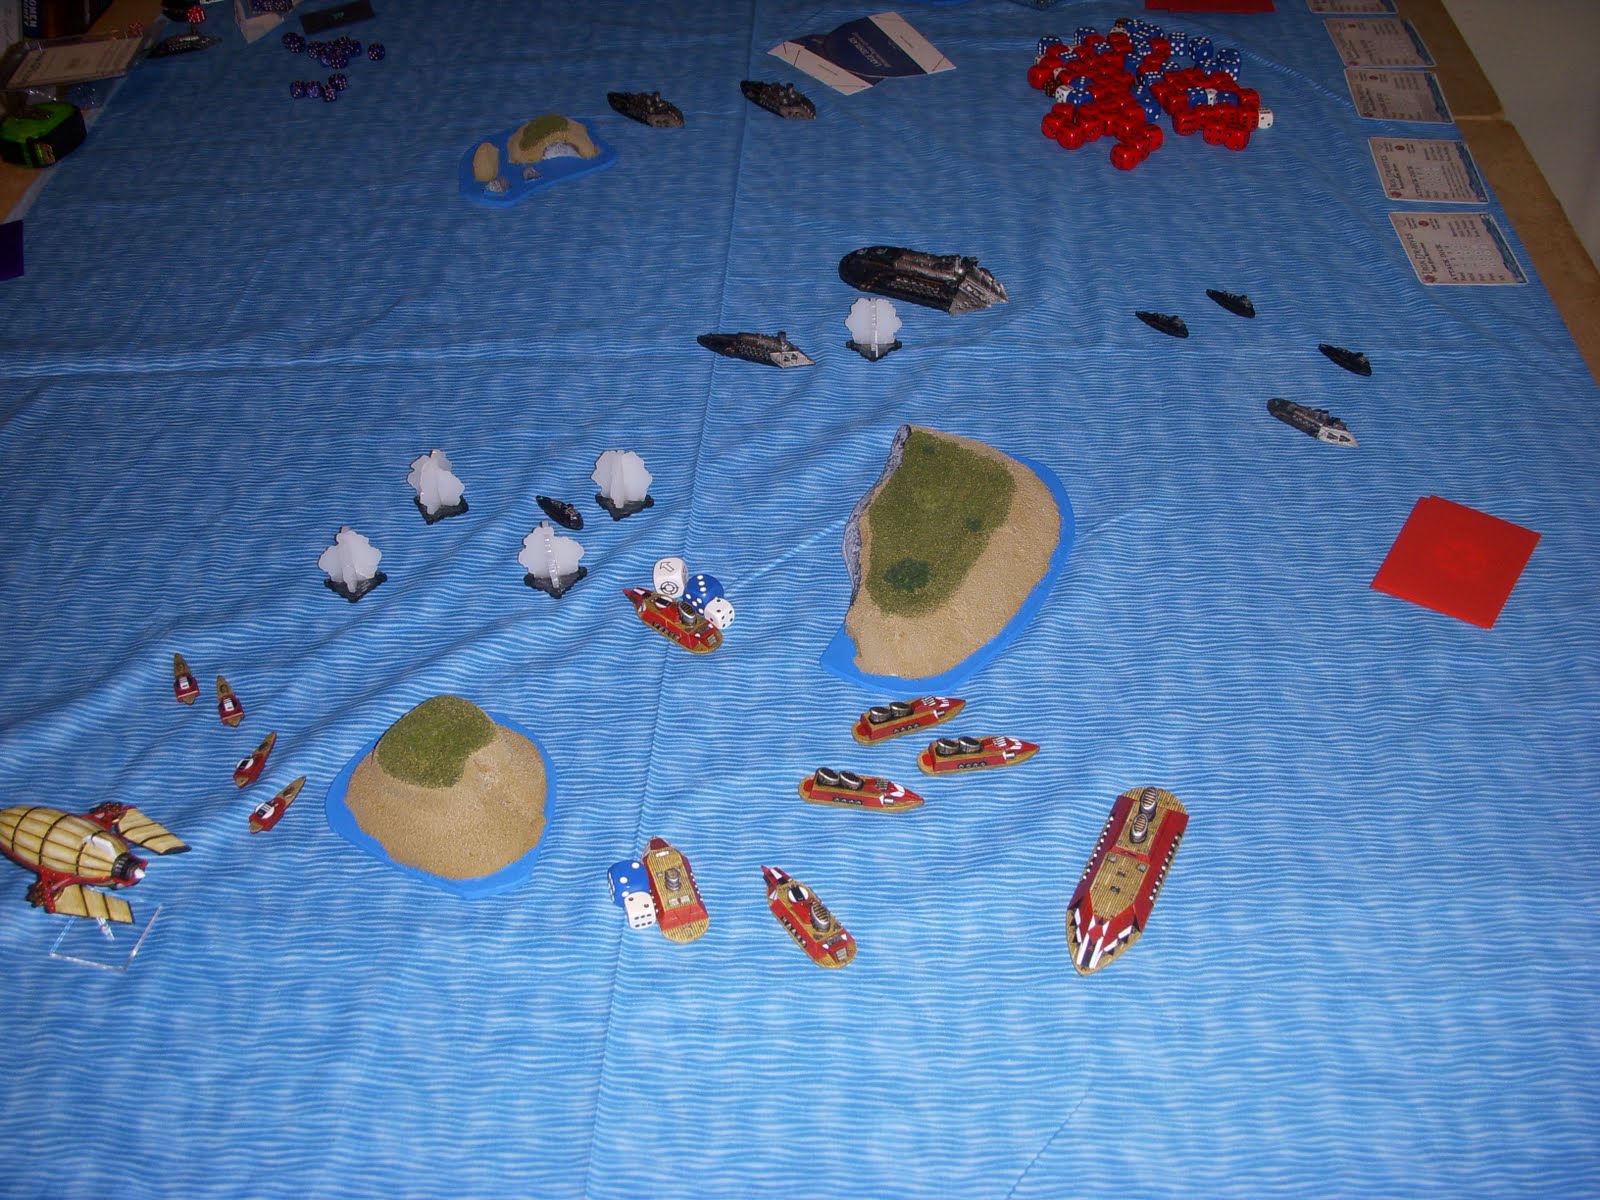
The first installment covered turns 1 and 2, which saw a lot of maneuvering and a little bit of action. Now in turn 3, the gaps are smaller than ever and things are about to get hot and heavy. My ships are poised to take the center of the table. EV is feeding me a squadron of frigates while sending the rest of his fleet on what looks like a long flanking action
I win initiative and move my airship into cover behind the island.
 |
| Turn 3, ID 1 |
EV creeps his southern frigates forward
 |
| Turn 3, SM 1 |
I take great care again to line my destroyers up against EV's frigates, but once again fail to do any damage. I've fired individually both times at RB2+, so I haven't had a ton of dice to throw, but I still would have expected something somewhere. Even better, I've blocked my southern cruisers, though I may have been trying to create a screen for them as I'm still holding the "1 repair point to 3 ships" card.
 |
| Turn 3, ID 2 |
|
I play Additional Activation and send my frigates around the island to shoot up the southern SM frigates. My frigates succeed where my destroyers failed, sinking the destroyer and putting a point on a frigate. This was another case of careful positioning so I could get a shot from each ship. Turrets are a wonderful thing.
 |
| First kill to the Iron Dwarves. |
EV is going to have quite the backlog of activations to use, but most of his fleet is at long range, or out of the fight entirely.
 |
| Turn 3, ID 3 |
Turns out I didn't hide my blimp well enough as EV had a shot with his flagship and put a point on it.
 |
| The airship is tested. |
There were a couple times in the game where I might have been more cautious with the airship, but decided that we were trying to test it, so I should get it out there to be tested.
 |
| Turn 3, SM 2 |
I guess I wasn't trying to make cover for my damaged cruiser. I managed to get off some shots, but with little effect. I am starting to accumulate a nice parking lot though.
 |
| Turn 3, ID 4 |
EV moves his cruisers. It looks like he's taking his whole fleet behind the SE island.
 |
| Turn 3, SM 3 |
I didn't have a lot of room for my battleship, but I used what I had. Having previously decided that the southern token was the sub, I shot at it with the battleship and landed a crit.
 |
| Keep bluffing... |
With 3 points of damage on it, I decided that I'd try to sink the token if I could manage it without extending myself too much.
 |
| Turn 3, ID 5 |
By moving the token into the middle of my fleet, EV assured its destruction, or at least that it would draw more fire. I started considering how to get double shots out of my unactivated cruisers.
 |
| Turn 3, SM 4 |
I had a hard time lining up targets for both broadsides with my cruisers, while maintaining a sailing line that wouldn't put me into one of my other ships or an island. I managed it though, destroying the token and putting a point on a SM cruiser.
 |
| Token down. |
This is a situation where I wish the ID cruisers had fore guns. ID ships are usually more expensive than the other fleet's equivalents, except for the cruisers. ID cruisers are the cheapest I've seen, and I think it comes down to lack of fore guns. While they have good broadsides at RB1+2, the lack of extra shooting arcs is very noticeable at times.
 |
| Turn 3, ID 6 |
EV moves his northern frigates. Up until now I haven't been worried about his flanking maneuver, but now those frigates are getting ready to clear the island and start firing on things. I'll need to deal with them in the coming turns. I've still had 3 turns where two of his squads haven't done anything, which is quite an advantage.
 |
| Turn 3, SM 5 |
EV finishes with his heavy cruisers. Not sure why he staggered them so much this activation.
 |
| End of turn 3, SM 6 |
Ships are taking fire, with more action poised to happen quickly. My plan is developing with the frigates going wide around the SW island while the rest of the ships are set to shoot the gap. The airship is floating about a bit. With no good bombing targets close by, I'm being cautious with it and trying to shelter it from fire. I've destroyed one sub token, which I decided was the real sub, so I expect the other token to run around and maintain a card in EV's hand. I'm trying to look 2-3 turns down the road where hopefully I'll have taken the center and be raking what's left of EV's fleet as he tries to round the SE island.
I began turn 4 by playing the repair card I had been holding, fixing the airship and improving the heavily damaged cruiser somewhat. I think I was holding another repair card at this time, so I wasn't too concerned about wasting the third repair point.
My frigates finish the work they started last turn, taking out the damaged SM frigate and a pristine one as well. Unlike last turn, this turn I went after the squadron before they activated.
 |
| Frigates start the turn right. |
I wanted to deal with EV's frigates with mine, but I also wanted to move them towards the center where I figured the fight would be in the turns to come. Managing two goals with one action like this always makes me happy.
 |
Turn 4, ID 1
|
EV's cruisers creep forward and crit my previously undamaged cruisers, knocking out a port gun in the process.
 |
| Shroud cruisers return fire. |
Sometimes I get distracted or entranced by the possibility of a last shot before I round an island. I try to avoid that now as it rarely seems to work out well. I wonder if EV didn't fall prey to that here, as he moved his cruisers very little and had been making a move around the island until now.
 |
| Turn 4, SM 1 |
I wanted revenge for the vicious my cruiser had just suffered. Plus I need to clear that squadron out of the gap so that I could move other ships through there. As such I moved my northern cruisers through the gap and sunk the previously damaged SM cruiser.
 |
| ID cruisers reply with cannons. |
I might have been concerned about leaving a damaged cruiser so close to a potential sub, but I had already sunk the sub so I wasn't too worried.
 |
| Turn 4, ID 2 |
And here come the flankers. I don't know that EV got a shot off here, though I assume he did and it just didn't do anything.
 |
| Turn 4, SM 2 |
Remembering that my battleship is very slow and that EV likes to crawl up behind it, I repurpose my destroyers, turning them hard to cover the rear of my fleet. I could have sent them between the central cruisers and SE island, but I thought there would be more action behind my fleet and the center was looking pretty solid with the destroyers.
 |
| Turn 4, ID 3 |
EV moves his flagship and hits the same cruiser squadron that his cruisers fired at earlier in the turn, critting the heavy with a Bridge Hit I think. Whatever the name, the results aren't encouraging: 2 hull damage, 2 dead crew, and a 2" drift to look forward to when the squad activates.
 |
| The big boy joins the fray. |
The middle is really starting to develop, though EV's cruisers and flagship should clear out next turn.
 |
| Turn 4, SM 3 |
I decided to send the southern cruisers behind my battleship with my destroyers, so I began to turn them around. I took a potshot at the bluff token because I could and managed a point of damage on it.
 |
| ID cruisers move on the center. |
Shooting at the bluff tokens was a weird experience. I needed 6s to hit, which meant I didn't get a ton of hits, but each hit I got was really 2 hits plus a reroll. Since the sub has a DR 4, I needed to roll 2 6s to damage it, which also gave me a decent chance of rolling a third 6, which would have been a crit. This is similar to shooting at frigates and how it's somewhat difficult to hit, but not crit, a non-dwarf frigate.
 |
| Turn 4, ID 4 |
So much for having already destroyed the sub...
 |
| Rippers gonna rip. |
I hadn't played against the Ripper with my ID yet, just one game as Humans. It's a nasty ship on paper and very capable of doing some real damage, as I just found out. That makes it a priority. Especially when I have the chance to destroy the actual sub and not just the token that you think is the sub.
 |
| Turn 4, SM 4 |
With the Ripper exposed on the surface, I wanted to take advantage of my opportunity to actually destroy it for real. I sent the airship in and dropped a +1 to hit card. Normally these cards backfire on me, but this time it worked out and I sunk the sub. For real this time.
 |
| Double crit does the job. |
The center is a killing ground at this point. There are so many ships that can or have shot into the center that it's getting to be a very bad place to be. Even so, I've made my move for it and it's paid off so far.
 |
| Turn 4, ID 5 |
The lone remaining southern frigate puts the horrible fate of its mates behind it and zooms in to ding my central heavy.
 |
| Death or glory! |
With the center now clearing out I can start to look elsewhere.
 |
| Turn 4, SM 5 |
Turning my battleship around, I put a long-range crit on the SM destroyer, holing it below.
 |
| Hole it, down below. |
I considered sending my battleship into the center, but decided to turn it around and face the flanking SM ships head on. Mostly I didn't want to keep my rear pointed towards them for multiple turns, so I took the line that would resolve that situation the quickest.
 |
| Turn 4, ID 6 |
EV moves his heavies last, grouping his capitol ships together and still heading around the SE island.
 |
| End of turn 4, SM 6 |
Plenty of action has gone down in the middle. Lots of ships are at the bottom, and the area of engagement is ready to shift to the SE corner of the board. I've dealt with the part of EV's fleet that he sent in at the beginning, now I can concentrate on the force that's been flanking for the whole game. Things have been going about as well as I could hope so far, but now it's time to tackle his bigger, tougher ships that are unscratched, while my own cruisers are getting worked over. Things should work out fine, but one never knows. Tune in next time to see the fleet reposition and start swinging again.


No comments:
Post a Comment